Jewelry making techniques using modern design tools. We cover the complete process, from conception and jewelry design to 3D printing.
Advisory: You have to ensure that what you make based on any designs here is safe for use. Safety is your responsibility; use your judgement; we do not claim that any of the designs here are fit for any specific purpose.
bracelets decorations jewelry misc rings toolsMaking a pumpkin.
19 Oct 2019 - Hristo
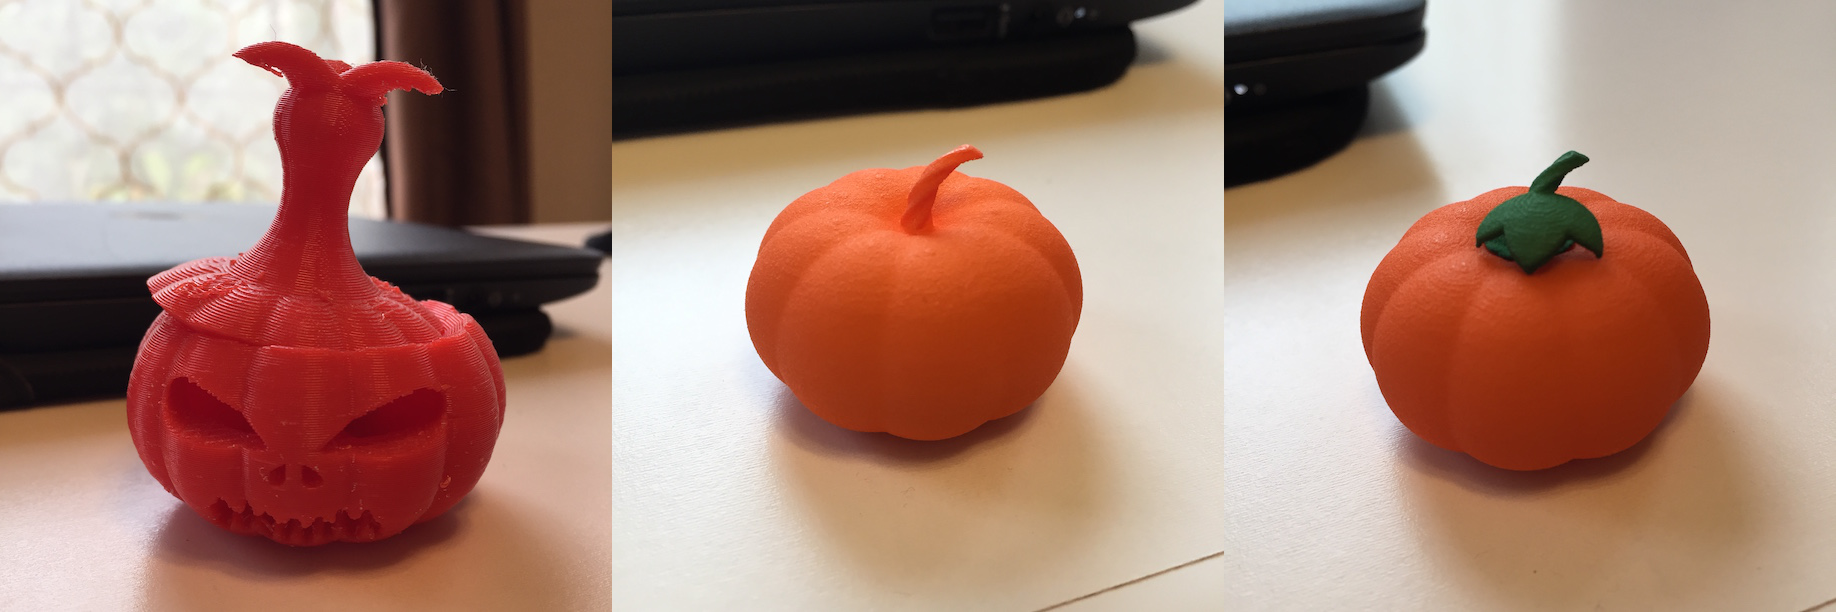
Harvest season is afoot, and what better way to observe that than to 3D print a nice pumpkin decoration. Some attempts many years ago produced the object on the left. In this post we will discuss how to construct the pumpkin in OpenSCAD, including a properly-twisting (extruded) stem and natural-looking leaf, arriving at the final result on the right.

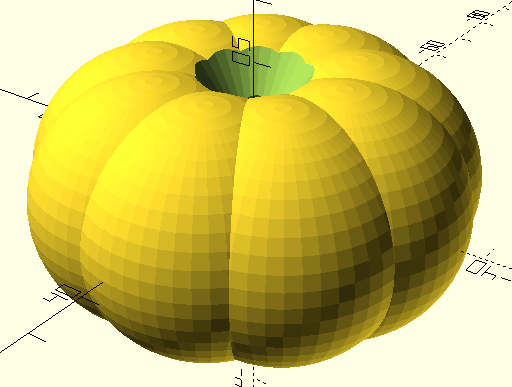
The first step in constructing the pumpkin is to get the body right. One approach is to simply combine several spheres, each offset away from the Z axis, and rotated at angles that are multiples of e.g. 60 degrees (if we want a 6-segment body), or perhaps 45 degrees (for an 8-segment body). In this case we have used a step of 40 degrees, which gives us 9 segments.

One thing to watch out for is the total volume of the item you are designing. Using a union of solid spheres means our end result will be solid. This ends up increasing the cost to print. This is why, when we make the final version of the pumpkin body (the “bottom part” in the code), we subtract a smaller, scaled down version of the pumpkin body in order to remove material from the inside (not unlike the way we do it before carving a real pumpkin).
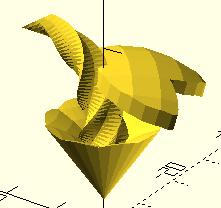
Anyway, now we get to the more technically challenging part. We make a stem by using the advanced extrusion features available in recent OpenSCAD versions and the scad-utils and sweep libraries. The stem base is a star that gets extruded up by performing, gradually, the following transforms: (1) rotation around Z to create twist, (2) scaling down to thin the stem, (3) translate up to add dimension, and finally (4) rotate around Y to make the stem curve rather than point straight up.

Next is the leaf. We construct it from three parts, each of which is an intersection of two cylinders. The parts are rotated to yield a three-pointed shape. Then we use this “extruded” shape and cut the actual leaf out of a spherical shape.
Now, you may ask how come we have two separate solids, a top and a bottom. This is so the two parts can be printed in different colors as seen above (body in orange, stem and leaf in green).
You can get the code for the pumpkin and use it as-is (read the comments though). You will also need the sweep library as used in the list comprehension demos on GitHub.

